
Start with proper layering using moisture-wicking base layers and windproof outer shells to stay warm and dry. Keep your hands toasty with pogies and liner gloves, while insulated boots one size larger prevent cold feet. Lower your tire pressure to 5-7 PSI for packed snow and maintain high cadence around 80-100 RPM for better control. Stick to packed trails, carry fat bike-specific spare tubes, and master centered body positioning for ideal traction. These fundamentals will enable advanced snow riding strategies.
- Layer Up With the Right Cold Weather Gear
- Keep Your Hands and Feet Warm on Winter Rides
- Dial in Your Tire Pressure for Snow Conditions
- Master Snow Riding Techniques and Body Position
- Prepare Your Bike for Cold Weather Mechanicals
- Choose the Right Tires for Traction on Ice and Snow
- Maintain High Cadence to Power Through Deep Snow
- Stay on Packed Trails to Avoid Crashes
- Carry Essential Tools and Spare Tubes for Fat Bikes
- Store and Maintain Your Bike During Winter Months
- Last Words
Layer Up With the Right Cold Weather Gear

When temperatures drop and snow blankets the trails, your clothing becomes the critical barrier between an exhilarating ride and a dangerous situation. Start with a moisture-wicking base layer that fits snugly against your skin to trap heat and prevent sweat buildup.
Add a lightweight fleece or insulated vest for your mid-layer—vests work perfectly since they maintain core warmth while allowing arm movement for steering. Your outer layer should be windproof and water-resistant with breathable vents to prevent overheating during climbs.
Don’t forget head protection with a helmet liner or thin skull cap, plus a breathable neck gaiter for wind protection. For your legs, layer thermal underwear under windproof pants, and use gaiters to keep snow out of your boots. Consider packing a lightweight, packable down jacket since you’ll feel colder when you stop riding and your body heat production decreases.
Keep Your Hands and Feet Warm on Winter Rides
Your extremities lose heat fastest during winter fatbike rides, making proper hand and foot protection essential for both comfort and safety. Cobrafist pogies paired with lightweight liner gloves work effectively down to -25°F while maintaining dexterity for zippers and food access. You’ll appreciate pogie vents that regulate heat and prevent sweat buildup during climbs.
For feet, choose Muck Arctic boots sized one full size larger to accommodate thick merino wool socks and Bama sock systems. This combination maintains warmth to -30°C. Add closed-cell foam insoles for extra ground insulation. Use vapor barriers like turkey bags to trap heat and redirect moisture away from boots. Metal components like cleats and pedals can act as heat sinks, drawing warmth away from your feet, especially when damp.
Keep snow out with gaiters or proper pant coverage to prevent heat-draining melting inside your boots.
Dial in Your Tire Pressure for Snow Conditions
Tire pressure becomes your most powerful tool for conquering snow-covered trails on a fatbike. You’ll want to run 3-10 PSI depending on conditions and your weight.
For fresh powder, drop to 1-4 PSI to maximize flotation, while packed trails handle 2-6 PSI effectively. Hard-packed snow allows higher pressures around 5-7 PSI, but lower still improves control.
Start with 6 PSI rear and 5.5 PSI front, then adjust down for softer conditions. Heavier riders need slightly more air across all snow types.
Carry a mini-pump for trail adjustments since conditions change rapidly. Even 1-2 PSI makes a dramatic difference in performance.
Test ride and fine-tune – higher pressure rolls easier, while lower pressure floats better over soft surfaces. Remember that wider tires require less pressure than narrower ones to achieve the same contact patch and performance characteristics.
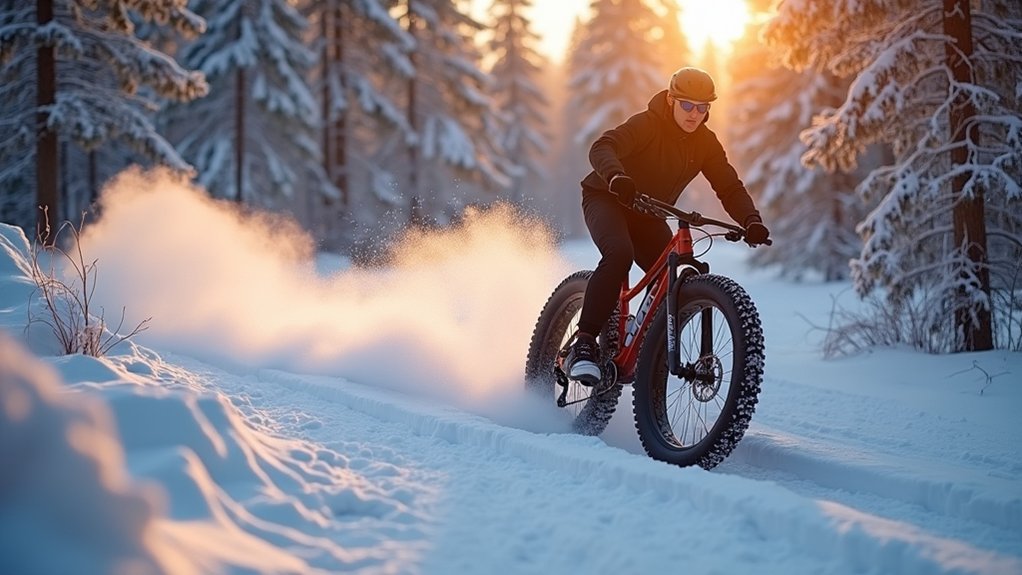
Master Snow Riding Techniques and Body Position
While proper tire pressure sets the foundation for snow riding, mastering your body position and riding technique determines whether you’ll glide confidently through winter terrain or find yourself struggling in the snow.
Keep your body centered and sit upright to maintain weight over the rear wheel for ideal traction. Use your dropper post to lower your center of gravity during technical sections.
Steer with your hips rather than just turning handlebars, and lean into turns while keeping the bike upright to prevent sliding. On side inclines or sharp turns, remove your inside foot from the pedal to catch yourself if you start to fall.
Maintain higher cadence in your lowest gear to prevent stalling in deep snow. Reserve pedaling for straight terrain and focus on balance during technical sections.
Use gradual, controlled movements and rely primarily on your rear brake for predictable stopping power on slippery surfaces.
Prepare Your Bike for Cold Weather Mechanicals
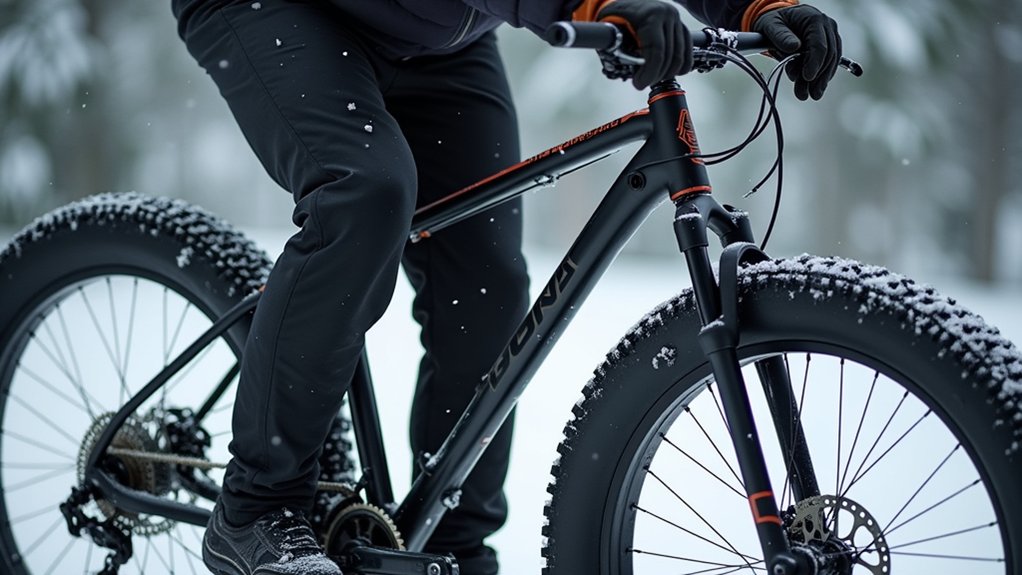
Beyond perfecting your riding technique, cold weather presents unique mechanical challenges that can quickly turn an enjoyable winter ride into a frustrating ordeal. You’ll need to adjust tire pressure outdoors rather than indoors, as temperature swings create notable discrepancies. Watch for back tire slipping (too low pressure) or front tire squirreliness (release air).
Store your bike dry and lubricated after every ride using high-quality winter lubricants on chains, gears, and moving parts. Pack fat bike-specific tubes, multiple tire levers, and hand pumps rather than CO2 cartridges. Carry spare derailleur hangers since they bend easily when dropped in snow. Cold temperatures make materials more brittle, so bring multiple tire levers and patch repair supplies in case equipment breaks during roadside repairs.
Perform thorough pre-ride inspections of brakes, tires, and gears. Remember, mechanical failures require considerably longer hiking times in snow conditions.
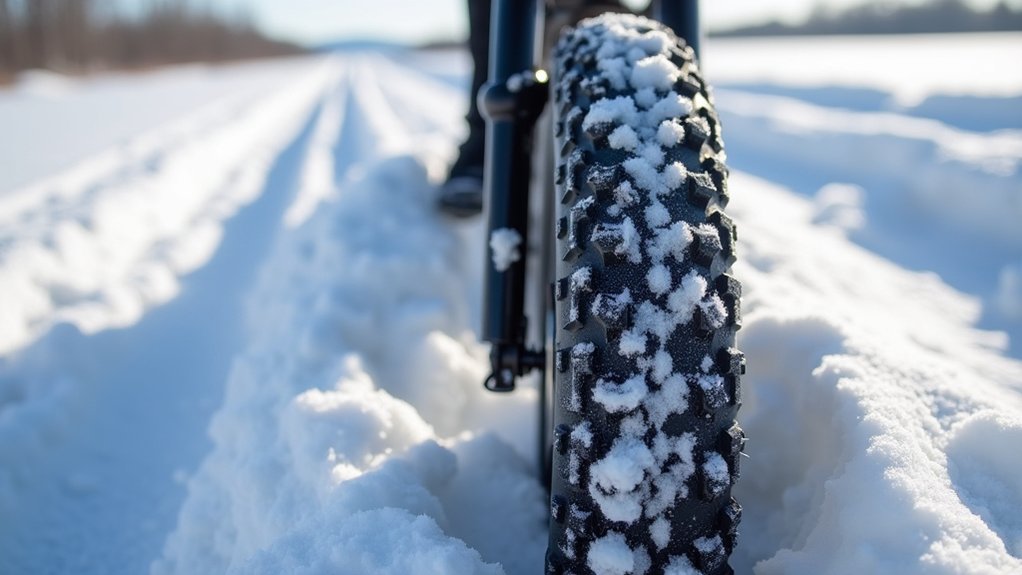
Choose the Right Tires for Traction on Ice and Snow
Nothing impacts your winter riding experience more dramatically than your tire choice, as the wrong rubber can transform groomed trails into treacherous obstacles and turn confident descents into white-knuckle affairs.
For groomed snow and racing, you’ll want narrower tires (3.8–4.0 inches) that reduce rolling resistance.
When tackling soft, deep snow, wider tires (4.5–5.0 inches) provide essential flotation to keep you moving forward.
Studded tires become your best friend on icy terrain. Look for models with concave carbide studs that bite aggressively into ice during turns and braking.
Premium options feature 300+ stud pockets for maximum grip.
Don’t forget tire construction matters too—high TPI casings stay supple in cold temperatures, while aggressive center lugs maintain traction without sacrificing speed. Plus, consider that silica compounds in tire construction can significantly enhance traction in wet, snowy, and cold conditions compared to standard rubber formulations.
Maintain High Cadence to Power Through Deep Snow
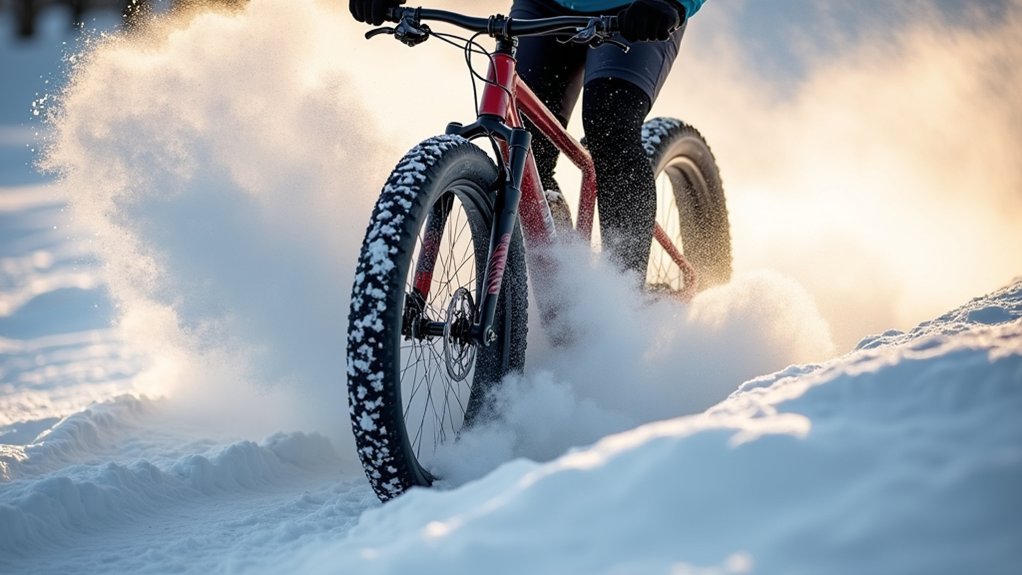
When you encounter deep snow on your fatbike, maintaining a high cadence above 80 RPM**** becomes your secret weapon for staying afloat and moving forward. Higher pedal revolutions distribute power evenly, preventing your tires from sinking into unconsolidated snow.
Aim for 90-100 RPM when tackling powder depths of 12 inches or more.
Rapid pedaling generates forward thrust without wheel spin, especially when you’re running low PSI tires at 5-8 pounds. This technique leverages your tire’s flotation capabilities while minimizing energy waste. The wide tires provide enhanced grip and traction on snow surfaces, improving your overall control during high-cadence pedaling.
You’ll find that 80+ RPM reduces fatigue by 20-30% compared to grinding in higher gears.
For the deepest conditions, gear down and spin at 100-110 RPM during climbs to punch through crusty layers and maintain steady momentum.
Stay on Packed Trails to Avoid Crashes
Your high cadence technique works best when you’re riding on properly packed snow surfaces that provide the stability and traction your fatbike needs. Packed trails offer the firm foundation that prevents your bike from sinking and losing control, which can lead to dangerous crashes.
You’ll know you’re on unsuitable snow if your tires leave deep ruts or trenches. Proper flotation should keep ruts under one inch deep. When snow’s too soft, wait for conditions to firm up before riding.
Always ride the firmest part of the packed track to preserve the trail surface. Keep your tire pressure under 5 PSI for ideal traction on packed snow. When encountering other trail users, yield appropriately and announce your pass to maintain safety for everyone.
Ensure the trail’s wide enough so you won’t sink into the softer sides, and ride single file to maintain proper control.
Carry Essential Tools and Spare Tubes for Fat Bikes
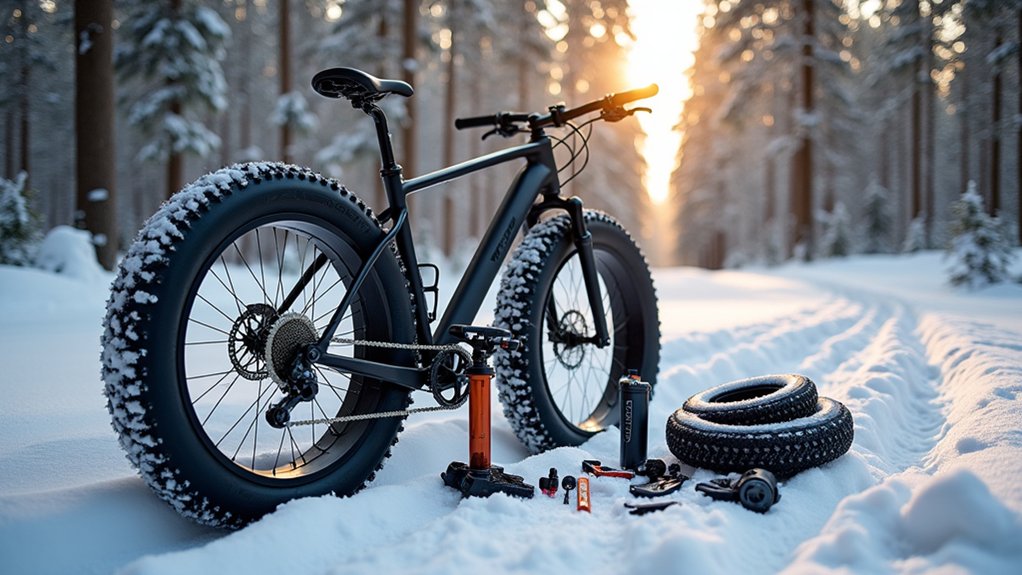
Since fat bikes require specialized equipment that differs greatly from standard mountain bikes, you’ll need to pack a targeted repair kit before heading out on snowy trails.
Standard downhill tubes won’t work with fat tires, so carry fat bike-specific tubes plus one spare since patch glue freezes in cold conditions.
Pack three tire levers because they become brittle and break easily in freezing temperatures.
Include a hand pump with psi gauge for adjusting tire pressure between 6-10 psi depending on snow density.
Don’t rely on CO2 cartridges—they’ll only inflate fat tires to 2-3 psi.
Add a multi-tool, spare derailleur hanger, chain links, and three Hot Hands packets.
Plus, pack winter-formulated lubricants to protect your chain and gears from salt and moisture damage that can occur during snowy rides.
This lightweight kit addresses common mechanical failures while keeping you moving safely.
Store and Maintain Your Bike During Winter Months
Although fat bikes thrive in winter conditions, they’ll need proper care during storage periods to perform at their best when you’re ready to ride again. Clean your bike thoroughly and lubricate the chain, cables, and moving parts after it’s completely dry.
Check tire pressure according to manufacturer recommendations and store your dropper post in the up position.
Choose a dry, secure location like an unheated garage to prevent theft and rust. Don’t store your bike upside down, as this can cause oil leakage from the forks. Consider using easy-to-grab stands that accommodate fat bikes’ heavier weight and facilitate quick access, especially when dealing with winter conditions.
Use wall-mounted hooks or vertical storage solutions designed for fat bikes’ wider tires. Cover your bike if storing outside, and remember to acclimate it to outdoor temperatures before your next snowy adventure.
Last Words
You’re now equipped with the essential knowledge to tackle winter fatbiking safely and confidently. Remember, proper preparation prevents poor performance—dress warmly, adjust your tire pressure, and don’t forget those spare tubes. Start on familiar, packed trails before venturing into deeper snow. Most importantly, respect winter conditions and know your limits. With practice and patience, you’ll discover the incredible joy of exploring snow-covered landscapes on two wheels. Stay safe and enjoy your winter adventures!