
Before your road trip, you’ll want to verify your child’s height and weight still fit within your car seat’s limits, then check that harness straps are positioned correctly at or below shoulders for rear-facing seats. Test your installation by tugging at the belt path—it shouldn’t move more than one inch. Perform the pinch test to ensure harness webbing is snug, position the chest clip at armpit level, and secure all loose items that could become dangerous projectiles during sudden stops or crashes, as these essential steps will help keep your family protected throughout your journey.
- Verify Your Child’s Height and Weight Match the Seat’s Limits
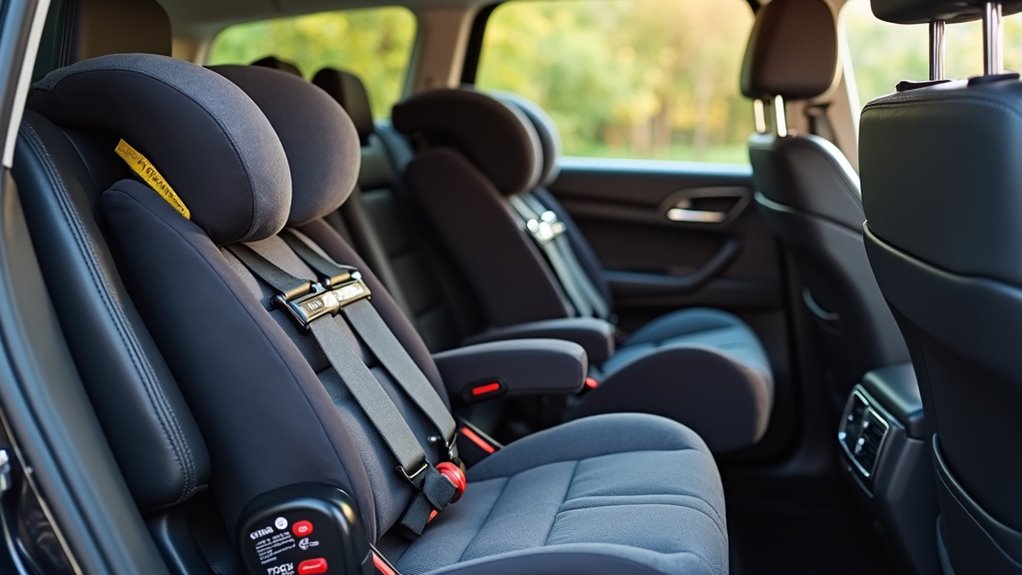
- Confirm Proper Seat Orientation and Harness Stage
- Check Seat Installation and Movement at Belt Path
- Test Harness Tightness With the Pinch Test
- Position Chest Clip at Armpit Level
- Remove Bulky Clothing and Coats
- Inspect Seat for Damage, Recalls, and Expiration
- Review State Laws for Your Travel Route
- Secure Loose Items and Adjust Vehicle Environment
- Plan Rest Stops and Emergency Procedures
- The Sum Up
Verify Your Child’s Height and Weight Match the Seat’s Limits
Before buckling your child into their car seat, you’ll need to check that their current height and weight still fall within the seat’s safety limits. Exceeding these manufacturer limits puts your child at serious risk during a crash.
For rear-facing seats, keep children positioned backward until they reach the maximum height or weight limit. Don’t rush this changeover – convertible and 3-in-1 seats offer higher rear-facing limits than infant-only seats. Rear-facing seats provide maximum protection for your child’s head, neck, and spine during an accident.
Forward-facing children should remain in five-point harnesses until they outgrow the seat’s top limits. Once they’ve exceeded forward-facing restrictions, transition to a booster seat.
Confirm Proper Seat Orientation and Harness Stage
Once you’ve confirmed your child fits within the seat’s limits, you’ll need to verify the orientation and harness setup match their developmental stage.
For rear-facing seats, position harness straps at or below your child’s shoulders and ensure there’s at least one inch of shell above their head. Keep children rear-facing until they reach the seat’s maximum limits.
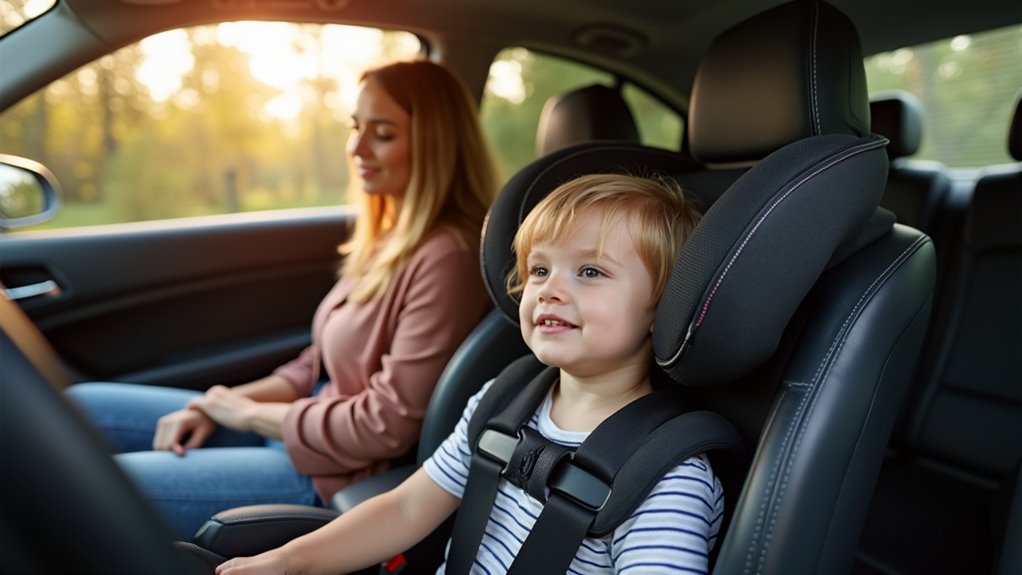
When shifting to forward-facing, wait until your child’s at least two years old. Position harness straps at or above shoulders and attach the top tether to your vehicle’s anchor point. Your child’s ears should remain below the seat shell’s top.
Continue using the five-point harness until reaching maximum limits before considering a booster seat shift around age five. For children transitioning to belt positioning booster seats, ensure they can maintain proper sitting position throughout the entire ride, even while sleeping.
Check Seat Installation and Movement at Belt Path

After setting up your harness correctly, you’ll need to examine how securely the seat connects to your vehicle. First, verify you’re using the correct belt path for your seat’s current mode—rear-facing or forward-facing. Never mix belt paths during installation. Confirm the belt webbing lies flat without twists or bunching.
Now perform the vital “1-inch test.” Grab the seat firmly at the belt path and tug with handshake-level force. The seat shouldn’t move more than one inch side-to-side or front-to-back. If it does, tighten your installation. Use your nondominant hand for this check, as it provides sufficient force without risking over-tightening that could damage the seat.
Check that your vehicle belt locks properly so webbing can’t feed freely. Remove visible slack without over-tightening, which can damage the seat.
For forward-facing seats, attach and tighten the top tether after securing the belt path.
Test Harness Tightness With the Pinch Test
With your car seat properly secured to the vehicle, it’s time to focus on how snugly the harness fits your child. The pinch test determines whether you’ve achieved proper tightness.
First, pull the front harness adjuster to create a snug fit, then wiggle both the seat and your child to eliminate hidden slack around their torso and legs.
Now attempt to pinch the shoulder strap webbing vertically with your thumb and fingers, focusing on the area between the chest clip and your child’s collarbone. If you can grasp any excess material, the harness needs further tightening.
Keep pulling the adjuster until your fingers slide off the webbing without being able to pinch it. After completing the shoulder check, repeat the same pinch test at your child’s hips and torso areas to ensure no hidden slack remains in these critical zones. This test ensures critical crash protection for children of all ages.
Position Chest Clip at Armpit Level
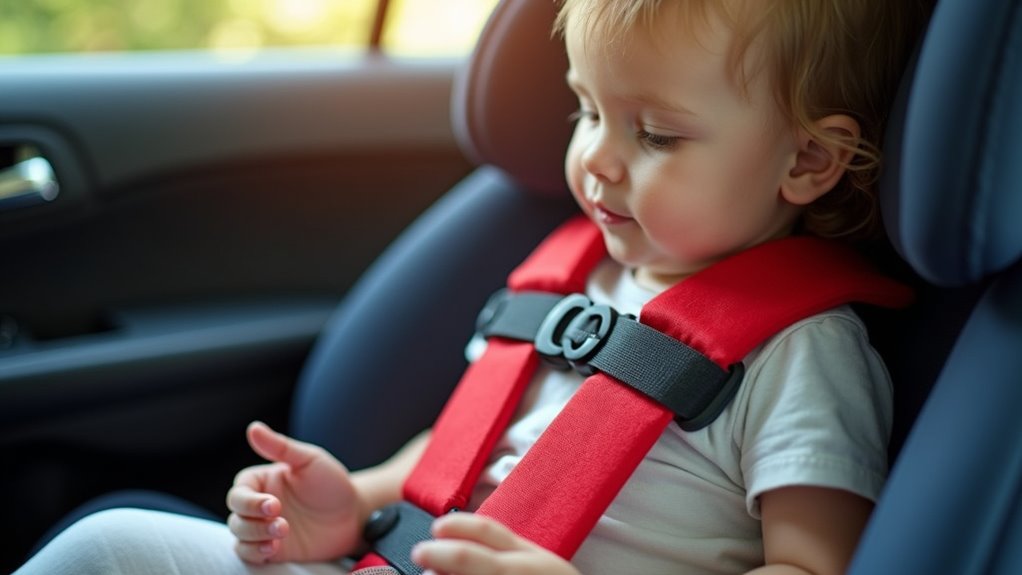
Following your successful pinch test, you’ll need to position the chest clip at the correct height to maintain proper harness alignment. Place the chest clip’s top edge at your child’s armpit level, centered on their sternum. This positioning keeps the harness straps parallel across their torso and prevents dangerous sliding during sudden stops.
For newborns, use your finger to check that the clip aligns with their armpits.
Always adjust the chest clip after tightening the harness for accuracy. Many clips include helpful icons indicating proper armpit placement. Remember that chest clips function as pre-crash tensioners to position harness straps correctly rather than providing crash protection themselves.
Remove Bulky Clothing and Coats
Even though winter coats keep your child warm outside, they create a deadly hazard under car seat harnesses. Bulky coats compress during crashes, leaving dangerous slack that can cause ejection from the seat. Safety experts recommend nothing thicker than a light sweatshirt under harnesses.
Use the pinch test to check: buckle your child with their coat, tighten the harness, then remove the coat without loosening straps. If you can pinch webbing at the shoulders, the coat’s too bulky.
Instead, dress your child in thin layers like fleece or thermal underwear. After securing the harness properly, place a blanket over them or put their winter coat on backwards for warmth without compromising safety. For the safest option, choose fitted covers that are specifically approved for your car seat model.
Inspect Seat for Damage, Recalls, and Expiration
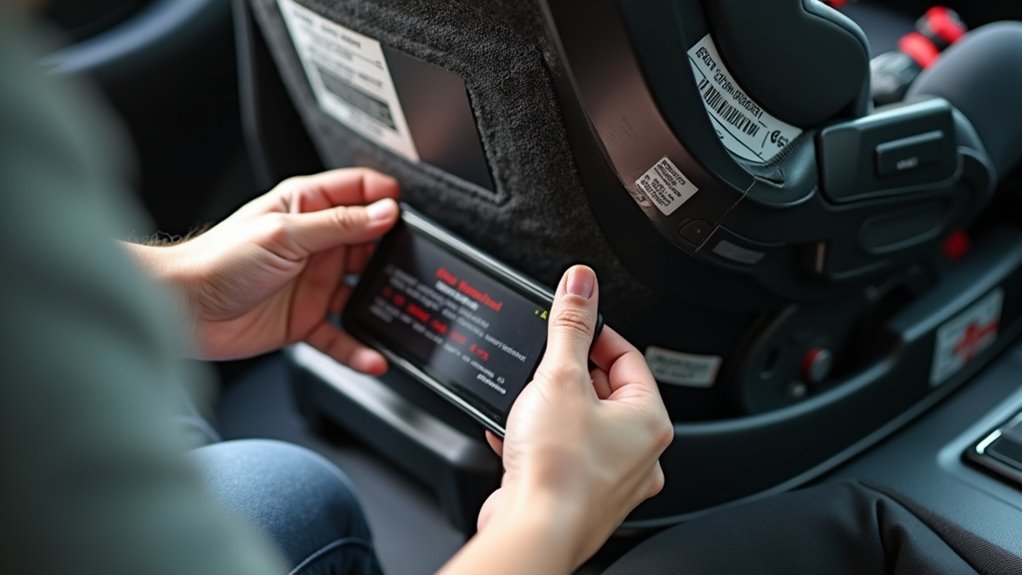
Before buckling your child in, you must thoroughly examine your car seat to guarantee it’s structurally sound and legally safe to use. Check the shell for cracks, warping, or stress whitening around belt paths and attachment points.
Inspect harness webbing for fraying, cuts, or melted spots that weaken strength. Ensure all buckles, chest clips, and adjusters work smoothly without sticking.
Verify you’ve got all original parts—infant insert, harness pads, base, and bolts—properly attached per manufacturer instructions. Never use seats with unknown crash history, as internal damage isn’t always visible. Test that your installed carseat moves less than 1 inch when tugged at the belt path to ensure proper installation.
Search NHTSA’s recall database using your seat’s model and manufacture date. Check the expiration date stamped on the shell; most seats expire 6-10 years after manufacture.
Review State Laws for Your Travel Route
While federal standards provide a baseline for car seat safety, state laws dictate the specific requirements you’ll encounter on your journey.
Fortunately, you’ll find consistency across states – all cover children up to age 16 with primary enforcement, meaning officers can stop you specifically for car seat violations.
Every state requires age-appropriate restraints: rear-facing for youngest children, forward-facing with harnesses, then booster seats.
Children under 13 must ride in rear seats when available, unless occupied by younger kids.
You’re responsible for properly restraining all children under 16, regardless of your relationship to them.
Research your route’s specific requirements, as age and weight thresholds vary. Side-impact collisions pose particular risks for children due to limited protective structure in vehicle doors.
When multiple requirements apply, choose the most protective option.
Don’t assume exemptions exist – laws apply to all vehicles with seat belts.
Secure Loose Items and Adjust Vehicle Environment
As you buckle your child into their car seat, you’re creating a safe cocoon – but loose items throughout your vehicle can shatter that protection in an instant. Unsecured objects cause 13,000 injuries annually, turning everyday items like water bottles, tablets, and toys into dangerous projectiles during crashes.
The physics are sobering: a 5-pound booster seat generates 150 pounds of force at just 30 mph.
Secure tablets and phones in headrest mounts, store laptops and sports equipment in your trunk with cargo nets, and use cup holders for smaller items. Replace pull-down window shades with window clings for safer sun protection.
Place heavier cargo low and centered to maintain stability. Avoid stacking items above seat level – they’ll block your rearview mirror and become airborne hazards.
Regular cleanouts reduce clutter and potential projectiles.
Plan Rest Stops and Emergency Procedures
When you’re traveling with children, strategic rest stop planning becomes as essential as proper car seat installation. Follow the two-hour rule for breaks to keep kids comfortable in their seats.
Research your route beforehand through state DOT offices to identify well-lit rest areas with security cameras and cell phone coverage.
Choose stops visible from main roads and avoid isolated areas or parking between large trucks. Always lock your vehicle and hide valuables, even during short bathroom breaks. Never leave children unattended in the car.
For emergencies, note exact rest stop locations and keep your phone fully charged. If something feels unsafe, trust your instincts and leave immediately.
Plan meal stops at familiar restaurants rather than remote locations, especially during nighttime travel. Consider traveling with another family when possible, as having companions provides additional safety when walking to facilities or dealing with unexpected situations.
The Sum Up
You’ve got the checklist—now use it. Don’t rush through these safety checks just because you’re enthusiastic to hit the road. Your child’s safety depends on getting every detail right, from harness tightness to proper installation. Take the extra few minutes before each trip to verify everything’s secure and correctly positioned. These simple checks can make all the difference between a safe journey and a preventable tragedy. Your family’s worth that investment.