
Start by teaching your kids fire safety using the triangle concept—heat, fuel, and oxygen—then progress to safe lighting techniques with stormproof matches and ferro rods. Show them how to gather dry tinder like birch bark and cattail fluff, build teepee fire structures, and recognize survival priorities following the “Rule of 3s.” Teach basic lean-to and debris hut construction using natural materials while emphasizing Leave-No-Trace principles. These foundational skills will prepare them for advanced wilderness adventures ahead.
- Understanding the Fire Triangle and Basic Safety Rules
- Mastering Kid-Friendly Fire Starting Techniques
- Gathering and Preparing Natural Tinder Materials
- Building Simple Fire Lay Structures
- Recognizing Survival Priorities and Hypothermia Signs
- Choosing Safe Shelter Sites in the Wilderness
- Constructing Basic Tarp and A-Frame Shelters
- Creating Lean-To Shelters for Wind Protection
- Building Insulated Debris Huts for Warmth
- Following Leave-No-Trace Principles for Fire and Shelter
- The Sum Up
Understanding the Fire Triangle and Basic Safety Rules
When you’re teaching kids about fire safety in the outdoors, start with the fire triangle—a simple but powerful concept that explains how fires work. This model shows three essential elements: heat, fuel, and oxygen.
Remove any one element, and the fire goes out—that’s your most important safety lesson.
Heat starts the fire and keeps it burning. Fuel includes tinder, kindling, and firewood. Oxygen feeds the flames through proper airflow.
Teach kids to build fires only in designated areas with adult supervision. Show them how to arrange fuel loosely for better oxygen flow, keep unused materials away from flames, and maintain safe distances from hot coals. Practice these skills in challenging conditions like damp weather so kids understand that fire-making requires patience and technique when conditions aren’t ideal.
Most importantly, demonstrate how smothering with soil blocks oxygen, proving the fire triangle works for both starting and stopping fires safely.
Mastering Kid-Friendly Fire Starting Techniques
Once your child understands fire safety basics, it’s time to put spark-making tools in their hands. Start with Level 1 direct flame methods using stormproof matches or camp lighters with longer bodies that keep small hands away from flames. These tools offer immediate success and build confidence quickly.
Progress to Level 2 spark-based methods once they’ve mastered flame tools. Ferro rods work best for kids because ferrocerium creates hotter, longer-lasting sparks than traditional flint. Teach them to hold the rod at a downward angle and scrape firmly with a purpose-made striker or dull knife spine.
Create large, fluffy tinder bundles so sparks have room to land. Expect 20-30 minutes of practice before their first sustained flame. Use simple teepee fire lays for quick visual feedback. Children should practice these techniques through repeated practice to develop autonomous fire-building skills and safety awareness.
Gathering and Preparing Natural Tinder Materials
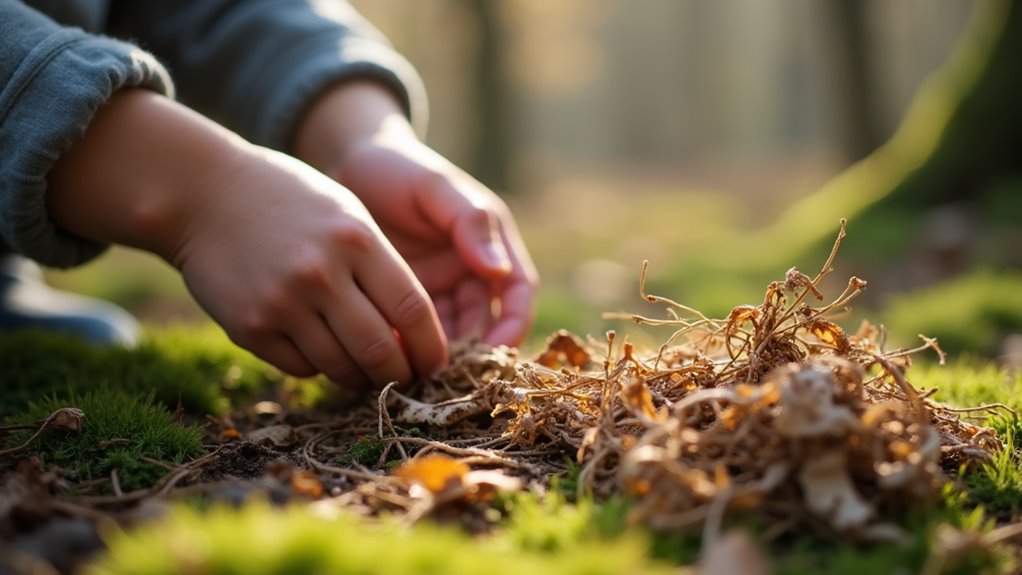
After your child masters basic fire-starting tools, they’ll need reliable tinder to catch those precious sparks. Teaching kids to identify dry grasses, cattail fluff, and birch bark creates outdoor confidence while building essential skills.
Always prioritize safety by gathering only from dead material—never strip bark completely around living trees. Test tinder by touch and sound: good material feels crisp and snaps cleanly. When weather’s damp, look inside fallen branches for drier material.
Help your child process tinder properly by shredding bark into fine fibers and creating bird’s-nest bundles with the fluffiest material in the center. Practice these techniques at home first, then venture outdoors with pre-dried backup tinder stored in waterproof containers. Look for King Alfred’s Cakes on ash and beech trees, as these robust black fungi can produce embers from sparks when ripe.
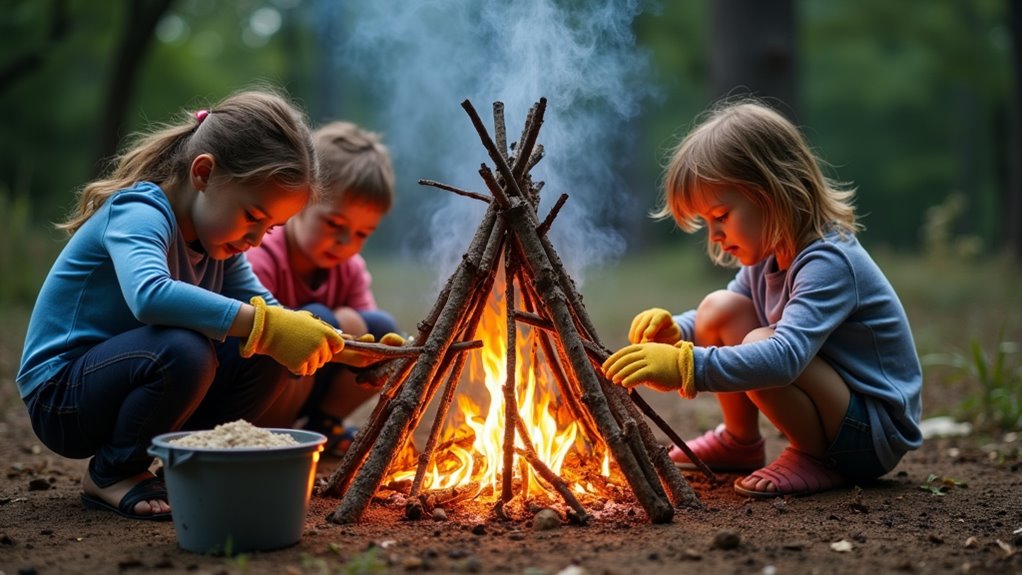
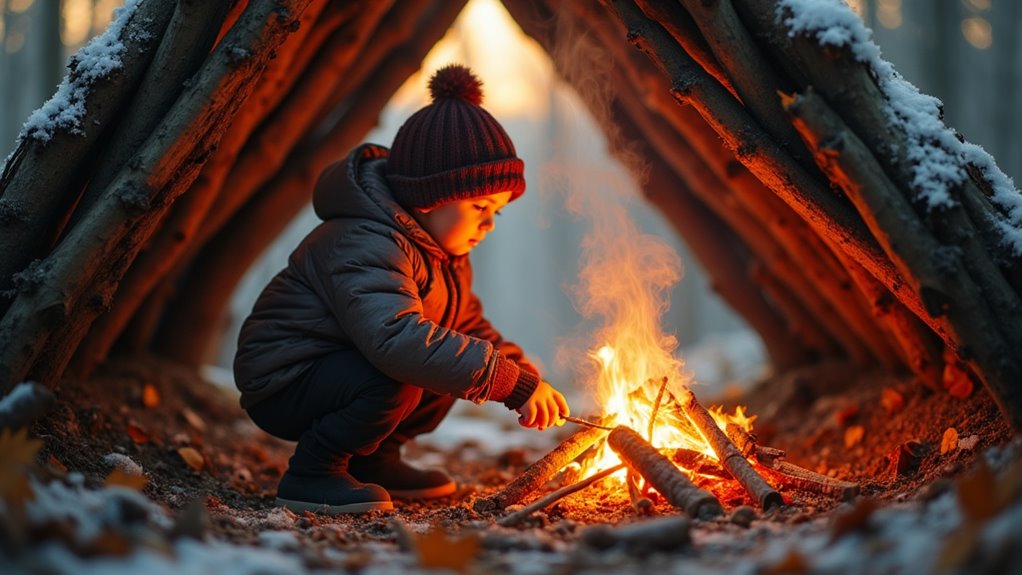
Building Simple Fire Lay Structures
With tinder ready to catch sparks, your child’s next challenge involves arranging kindling and fuel wood into structures that’ll turn those first flames into a sustained fire. Start with the teepee lay—it’s perfect for beginners. Have them stack thumb-thick kindling in a cone over the tinder, then add wrist-thick fuel wood, leaving gaps for airflow.
For windy conditions, teach the lean-to structure. Position a larger log as a windbreak, then lean kindling against it on the sheltered side.
The log cabin lay works great for cooking fires—stack fuel in a square, crisscross pattern around a central teepee. This structure burns big and hot, requiring less tending once your child gets it properly ignited.
Remember the golden rules: build small-to-large and keep it loose for air. These visual patterns help kids master fire-building fundamentals safely.
Recognizing Survival Priorities and Hypothermia Signs
While fire-building skills capture attention, teaching your child survival priorities could save their life in a real emergency. Start with the “Rule of 3s”: 3 minutes without air, 3 hours without shelter in extreme conditions, 3 days without water, 3 weeks without food.
Emphasize staying calm first, then shelter before water or food. Maintaining a positive mental attitude helps children avoid panic and think clearly during emergencies.
If separated, teach them to “hug a tree” and stay put. Moving increases the search area and delays rescue. A whistle blown every few minutes helps rescuers locate them.
Children lose heat faster than adults, making hypothermia dangerous. Watch for the “mumbles, stumbles, fumbles, grumbles” warning signs: slurred speech, clumsiness, dropping things, and irritability. Uncontrolled shivering and pale skin signal immediate action needed.
Choosing Safe Shelter Sites in the Wilderness
Once you’ve recognized the warning signs that signal it’s time to seek shelter, your next priority becomes finding the right location to build it. Look for flat, elevated ground that won’t flood during storms.
You’ll want to stay close enough to water for drinking but far enough away to avoid attracting animals or getting flooded out.
Find natural windbreaks like hills or thick tree lines to block cold winds from your shelter’s entrance. Position yourself near deadwood and building materials to conserve energy while gathering supplies.
Always avoid wildlife trails, animal dens, and dead branches overhead that could fall. Check for insect nests and unstable rocks that might collapse. Consider the sun exposure of your potential site, as southern-facing locations will provide more warmth during cold weather conditions.
Constructing Basic Tarp and A-Frame Shelters
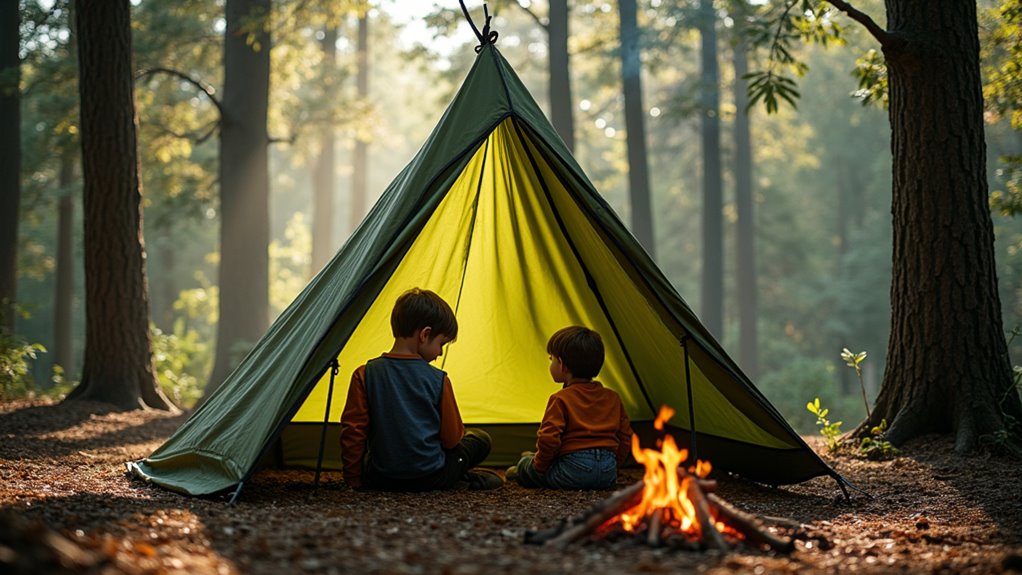
After securing your ideal shelter location, you’ll need to master two fundamental wilderness shelters that can save your life in emergency situations. The A-frame shelter offers excellent protection when you’ve got trees or trekking poles available.
Find two trees 10-15 feet apart and tie your ridgeline at waist height using a taut-line hitch for adjustability. Drape your tarp over the center and stake all four corners tightly. The A-frame configuration is easy and quick to assemble, making it ideal for rapid shelter construction in emergency situations.
If you’re using poles, adjust them to stomach height and secure the tarp with slip knots through tie-out loops.
Always reinforce your shelter by sealing gaps with debris, anchoring edges with rocks and logs, and adding guylines for stability against wind.
Creating Lean-To Shelters for Wind Protection
When you need quick protection from harsh winds and driving rain, the lean-to shelter becomes your go-to wilderness refuge. Start by selecting a flat, elevated area with trees spaced about five feet apart, positioning yourself to block prevailing winds. Secure a sturdy ridgepole between two trees to form your shelter’s backbone.
Lean strong branches against this ridgepole at a slight angle, creating a slanted roof that faces away from the wind.
Pack thick layers of leaves, pine needles, and moss onto your framework for insulation and waterproofing. Build a debris wall of stacked branches and foliage on the open side for extra wind protection.
Create an elevated sleeping platform with branches to minimize ground cold, and position any fire pit safely outside the open end. For larger groups, consider positioning two shelters with their backs against each other to create a central communal space while maximizing protection.
Building Insulated Debris Huts for Warmth
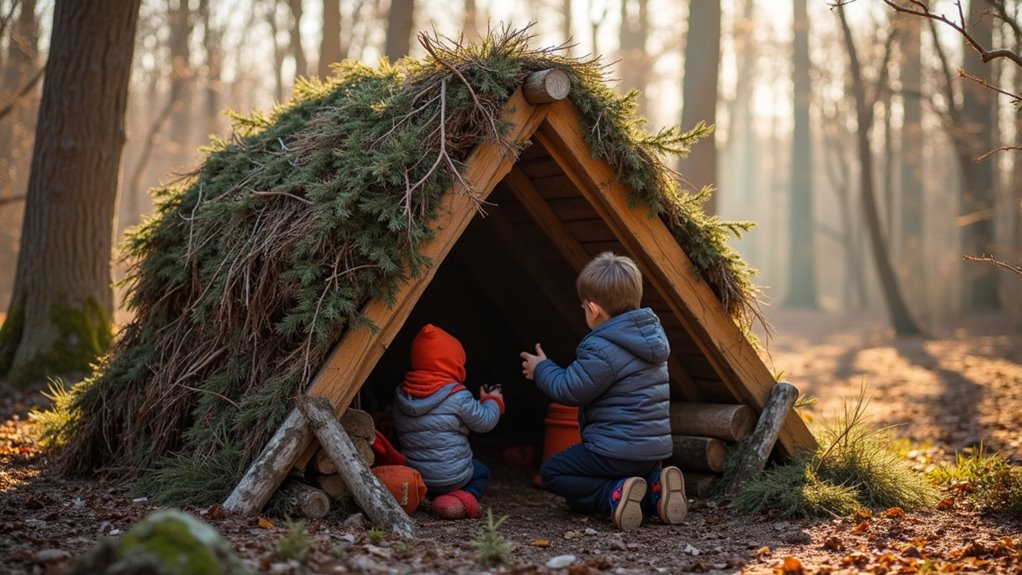
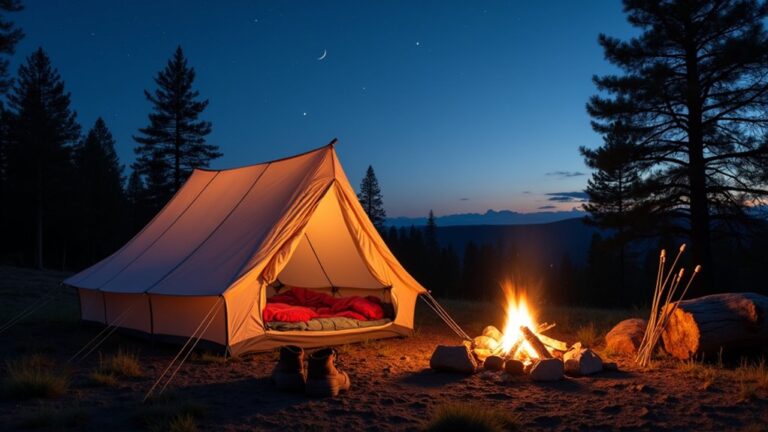
While lean-to shelters provide excellent wind protection, you’ll need a debris hut when winter temperatures drop and your body heat becomes your primary warming system. Start by selecting a safe location with abundant building materials nearby, positioning the entrance facing east and no more than three feet high.
Prop an eight-foot ridgepole against a sturdy support, then lay ribs one foot apart without extending above the ridgepole. Add perpendicular lattice work for structure.
Pile at least three feet of leafy debris over the entire frame—leaves and grasses trap air best for insulation. Inside, compress one to two feet of soft materials to create your sleeping area.
Build a simple door from woven sticks and leaves, adding entrance shoulders for wind protection. Begin construction 3-4 hours before sunset to allow adequate time for proper insulation and structural completion.
Following Leave-No-Trace Principles for Fire and Shelter
Building shelters and fires teaches valuable skills, but you’re also learning to become a responsible steward of nature. When setting up camp, choose durable surfaces like rock or established sites at least 200 feet from water sources. Don’t build permanent structures or dig trenches—work with what nature provides.
For fires, use camp stoves when possible and burn only dead wood completely to ash. Pack out all trash and food scraps; never burn plastic, foil, or leftovers. Scatter cold ashes 200 feet from camp.
Before leaving, restore your site by replacing moved rocks and sticks. Leave cultural artifacts untouched and inspect your area to ensure it looks natural. Visit in small groups to minimize your impact on the environment. You’re practicing skills while protecting wilderness for future adventurers.
The Sum Up
You’ve now equipped your kids with essential fire and shelter skills that’ll serve them well outdoors. Remember, safety always comes first—supervise closely and practice these techniques in controlled environments before venturing into the wilderness. Start with simple projects and gradually build complexity as their confidence grows. Most importantly, you’re not just teaching survival skills; you’re fostering a deep connection with nature while building your children’s self-reliance and problem-solving abilities for life.