Choose a beginner-friendly resort with 60-70% easy slopes and take professional lessons from day one—most adults feel confident after just two sessions. Master the wedge turn technique, get properly fitted equipment, and dress in moisture-wicking layers with essential safety gear like helmets and goggles. Embrace falls as learning opportunities, take regular breaks to avoid fatigue, and always ski within your ability level alongside others for safety. These foundational strategies will set you up for skiing success and open advanced techniques.
- Choose a Beginner-Friendly Resort With Gentle Terrain
- Invest in Professional Ski Lessons From Day One
- Master the Wedge Turn and Basic Speed Control
- Get Properly Fitted Rental Equipment
- Dress in Layers and Wear Essential Safety Gear
- Build Physical Conditioning Before Your Trip
- Embrace a Growth Mindset and Accept Falls as Learning
- Take Regular Breaks to Avoid Fatigue
- Follow Slope Etiquette and the Skier Responsibility Code
- Stay Within Your Skill Level and Ski With Others
- The Sum Up
Choose a Beginner-Friendly Resort With Gentle Terrain
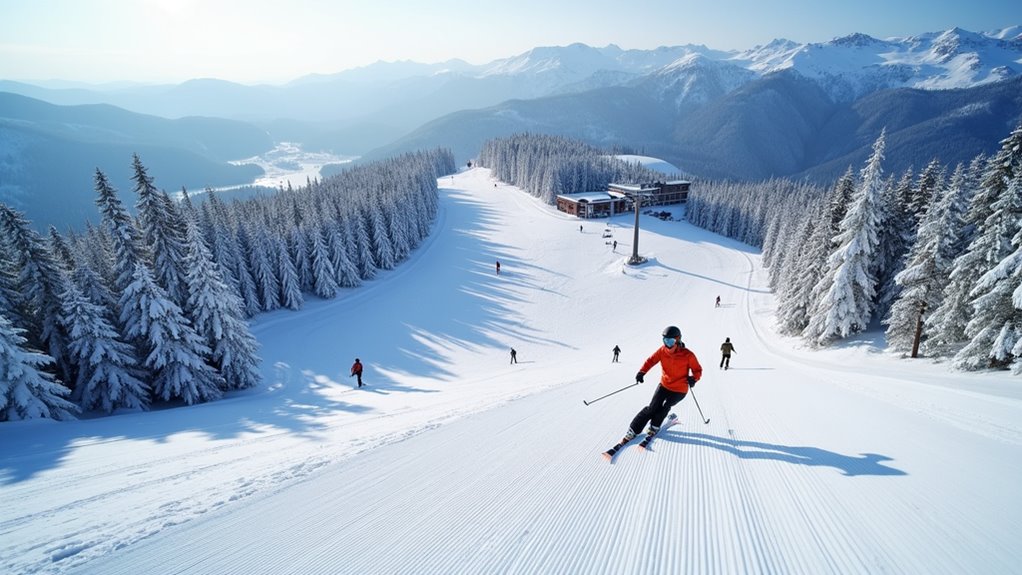
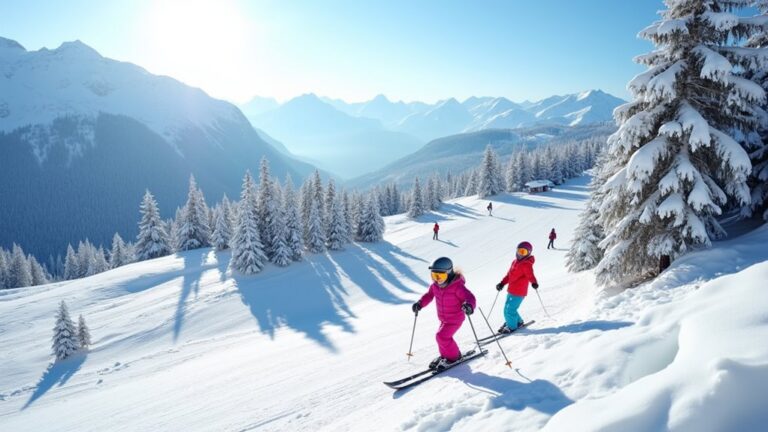
When you’re learning to ski as an adult, selecting the right mountain can make the difference between a confidence-building experience and a frustrating ordeal. Target resorts where 60-70% of terrain consists of beginner and lower-intermediate runs, like Northstar or Beitostølen.
Look for dedicated learning areas at the base with magic carpets and slow chairlifts that separate novices from faster traffic.
Choose mountains with wide, gentle slopes and reliable grooming rather than narrow cat tracks. Guarantee every lift offers at least one easy route down—you don’t want to get trapped on terrain beyond your ability.
Prioritize resorts with clear trail signage, compact base villages, and simple lift networks. Mountains like Buttermilk and Keystone feature web-like patterns of green runs specifically designed for skill progression and safety. Consider Steamboat Resort’s mid-mountain learning area at Greenhorn Ranch, which offers gentle, wide-open terrain served by its own high-speed lift away from the main mountain traffic.
Invest in Professional Ski Lessons From Day One
Although the temptation to save money and figure things out yourself runs strong, investing in professional ski lessons from day one will transform your learning experience from a frustrating struggle into steady, confidence-building progress.
Professional instructors teach proper body positioning, turning, stopping, and speed control while preventing bad habits that become difficult to unlearn later. They’ll cover essential safety knowledge, lift operations, and mountain awareness that protects you and other skiers.
Most beginners feel confident after just two lessons, with 50% ready for lifts after one 2.5-hour session. Instructors also teach you proper lift techniques for safely getting on and off chairlifts, which is crucial for accessing different slopes.
Group lessons offer affordable, social learning, while private instruction provides personalized attention.
A 5-6 day beginner program costs $240-280—an investment that maximizes slope enjoyment while minimizing injury risk.
Master the Wedge Turn and Basic Speed Control
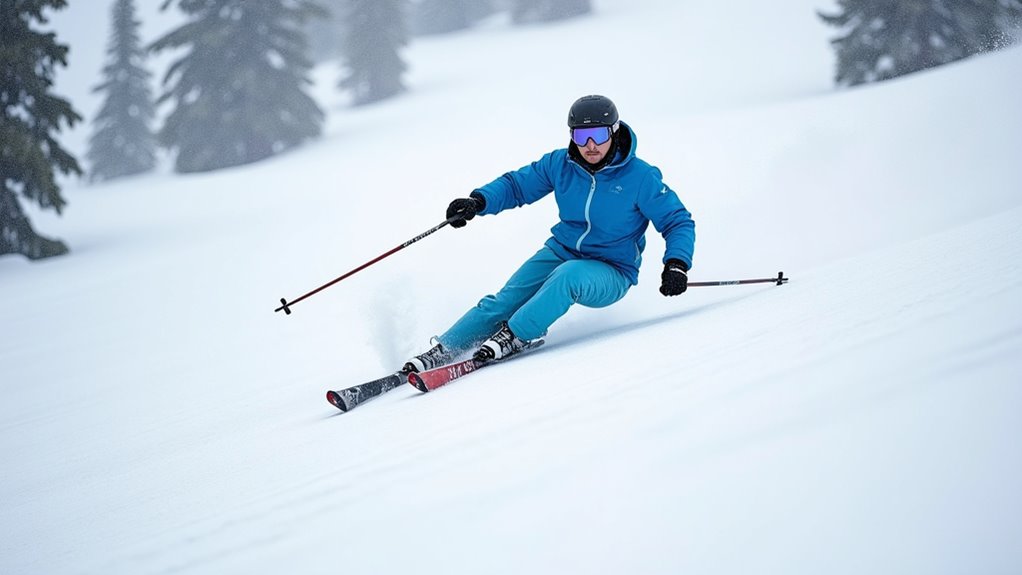
Once you’ve established a solid foundation with qualified instruction, your focus shifts to mastering the wedge turn—the fundamental technique that transforms you from a nervous beginner into a confident skier who can safely navigate green runs.
Form a shallow “V” shape with your ski tips closer together and tails slightly apart. Keep your body centered with flexed knees and ankles, maintaining contact between your shins and boot fronts.
Initiate turns by gently rotating both legs from your hips, not twisting your upper body. Your outside ski will naturally steer more, guiding direction changes. Practice maintaining similar turn rates throughout each turn to develop consistent rhythm and control.
Use turn shape—not wedge size—for speed control. Create rounder, longer turns that travel across the slope rather than straight downhill. This approach prevents the tense “death wedge” while building skills for future parallel progression.
Get Properly Fitted Rental Equipment
Before you can put your newly learned wedge turns to work on the mountain, you’ll need rental equipment that fits properly and supports your learning goals. Start with boots that feel snug around your heel and ankle without causing pain or numbness. Your toes should lightly touch the front when standing, then pull back slightly when you lean forward into skiing position.
Be honest with rental staff about your height, weight, age, and beginner status—this information ensures safe binding settings and appropriate ski selection. As a beginner, you’ll want shorter skis that fall between your chin and nose height, making turns easier and less intimidating. If your rental boots don’t feel right after your first few runs, contact the rental service for a quick size exchange at the base lodge or during lunch.
Don’t rush the fitting process; trying multiple boot sizes and asking staff to demonstrate proper buckling techniques will set you up for a safer, more comfortable learning experience.
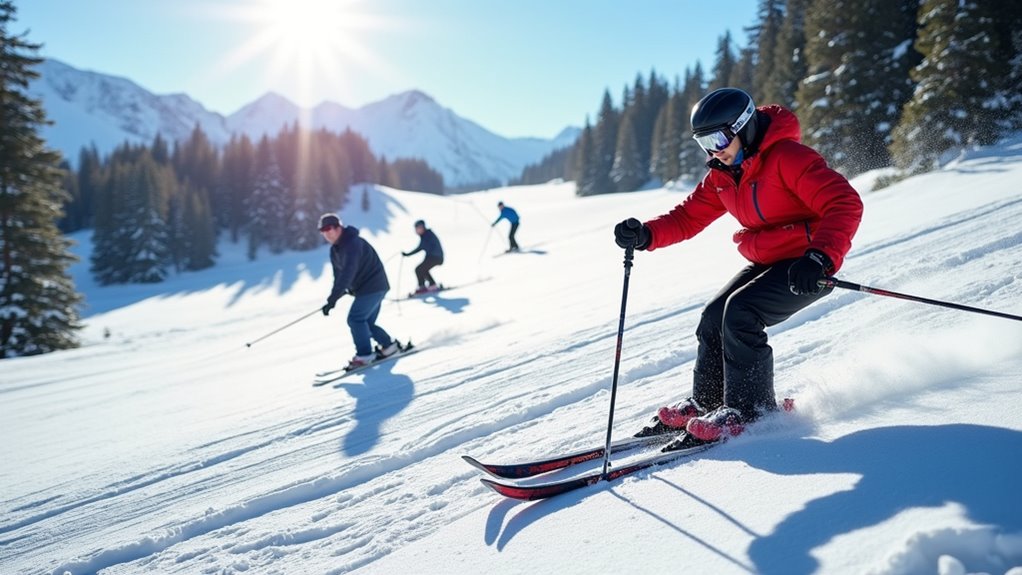
Dress in Layers and Wear Essential Safety Gear
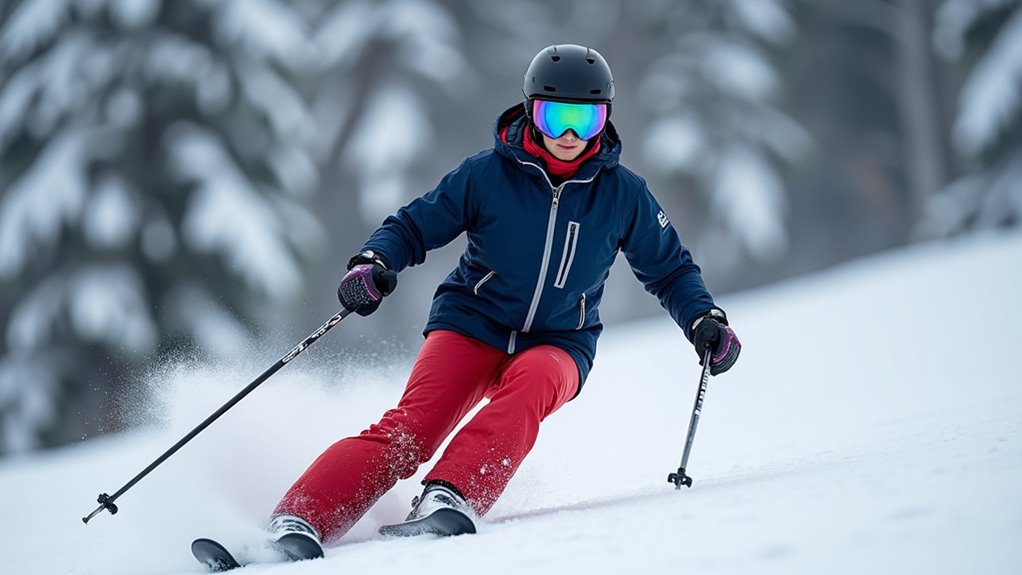
While proper equipment gets you started, dressing appropriately can make the difference between a memorable first skiing experience and a miserable day on the mountain. You’ll need a three-layer system: a moisture-wicking base layer made from merino wool or synthetics, an insulating mid layer like fleece, and a waterproof outer shell with breathable materials like Gore-Tex.
Don’t forget essential safety gear. A helmet protects against falls, while goggles shield your eyes from wind and UV rays. Waterproof gloves and a neck gaiter keep extremities warm. Choose 3/4-length base layer pants to prevent bunching in boots. Look for jackets with pit zips that allow you to quickly regulate your body temperature when conditions change.
Always wear dry layers only, and adjust them throughout the day to regulate your core temperature and prevent overheating or chilling.
Build Physical Conditioning Before Your Trip
Getting your body ready for the slopes starts weeks before you pack your gear. Focus on building lower-body strength through squats, lunges, and single-leg exercises that target your quadriceps, hamstrings, and glutes. These muscles handle the shock absorption and turning forces you’ll encounter on the mountain.
Don’t neglect your core—planks and side planks improve balance and help you maintain proper posture while skiing. Incorporating hip activation drills like banded lateral walks and clamshells will strengthen your glutes for more powerful turns and better stability on the mountain.
Start cardiovascular training 6-8 weeks before your trip. Running, cycling, or hiking builds the stamina you’ll need for full ski days at altitude.
Include balance work like single-leg stands and lateral movements to sharpen your coordination. Dedicate 2-3 training sessions per week, and don’t forget mobility stretches to keep your joints flexible for smooth turns.
Embrace a Growth Mindset and Accept Falls as Learning
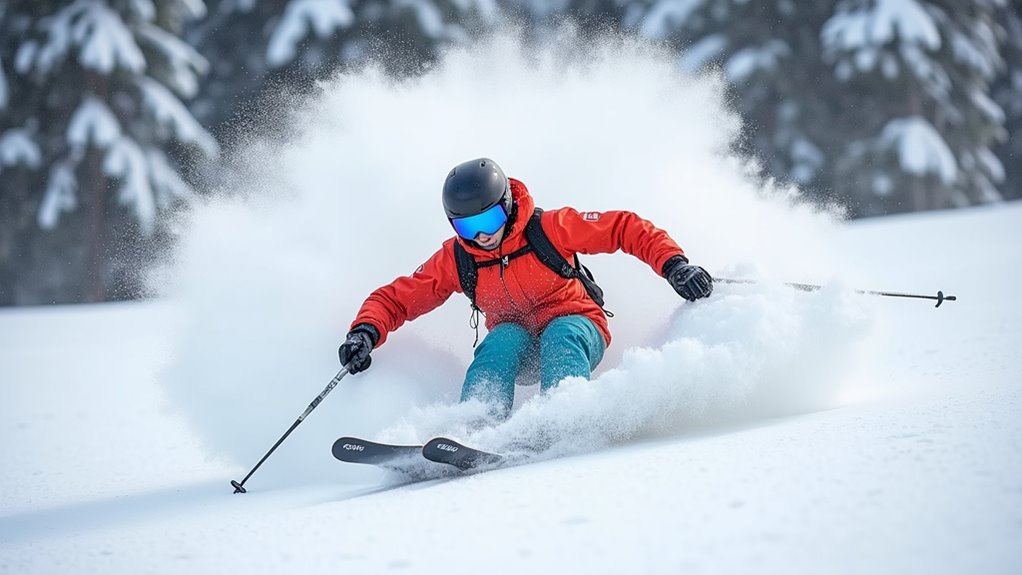
Since your physical conditioning prepares your body for skiing, your mental preparation determines how quickly you’ll progress on the slopes. Embrace a growth mindset by reframing falls as essential learning data, not embarrassing failures. Each tumble provides immediate feedback about your balance, speed control, and technique—turning negative moments into mini-coaching sessions.
Use constructive self-talk that focuses on “not yet” rather than “never.” After falling, quickly reflect on what changed: Were you going too fast? Did your stance shift? This transforms setbacks into valuable information.
Set process goals like “complete ten controlled turns” instead of outcome goals like “don’t fall.” Fear of falling often causes defensive skiing—leaning back and over-bracing—which actually increases instability. Remember that success depends on your willingness to develop, not your natural athletic ability.
Accept short-term struggles for faster long-term progression, keeping practice sessions playful rather than punitive.
Take Regular Breaks to Avoid Fatigue
When fatigue sets in during your ski day, your balance deteriorates and reaction time slows—creating the perfect storm for injuries that could sideline your family’s mountain vacation. Most skiing injuries happen later in the day when tired muscles can’t properly support your knees and maintain control on challenging terrain.
Don’t push through exhaustion. Take short breaks every few runs to reset both your body and mind. Use these moments for stretching or deep breathing while your family regroups.
When you’re tired, stick to easier slopes and avoid bumps or slush that demand extra energy. Fatigue especially impairs muscle reaction and stability, making it much harder to recover from unexpected balance challenges on the mountain.
Stay hydrated, fuel up with snacks, and dress warmly to minimize fatigue’s effects. Remember, skiing within your energy limits keeps everyone safe and extends your time on the mountain together.
Follow Slope Etiquette and the Skier Responsibility Code
While learning to ski opens up exciting family adventures, understanding and following the Skier Responsibility Code guarantees everyone on the mountain and assures your family’s safety throughout the day.
Always maintain control and ski within your abilities—downhill skiers have the right of way, so you’re responsible for avoiding collisions when overtaking others.
Stop only where you’re visible from above, never below hills or in narrow areas where other families can’t see you.
Read and obey all posted signs, warnings, and closure markers without exception.
Use lifts properly by staying seated and lowering restraint bars safely.
Never ski while impaired, and always exchange information if you’re involved in any incident.
Look uphill and check for oncoming skiers before starting downhill or merging onto a new trail to prevent dangerous uphill collisions.
These rules protect your family and others.
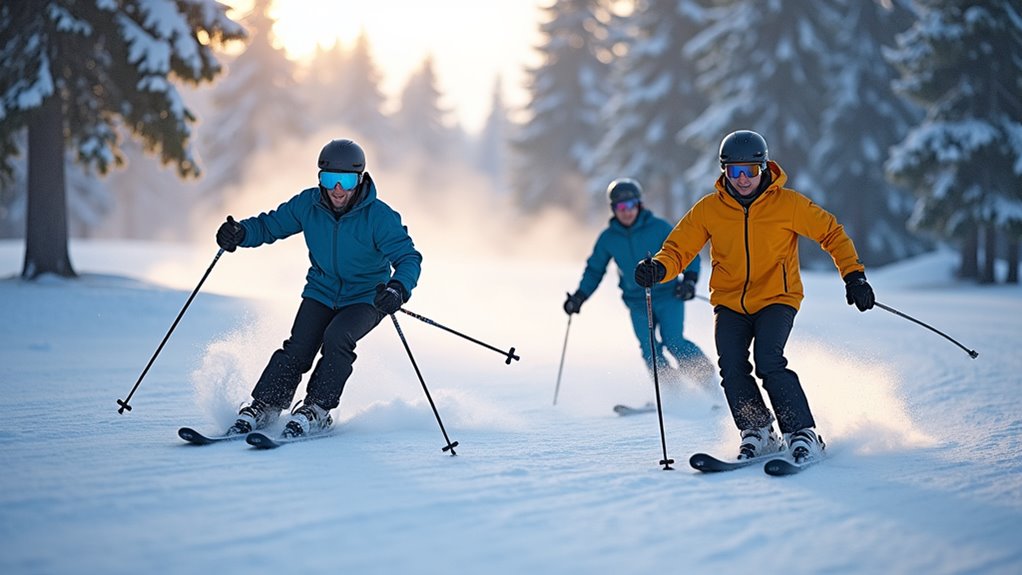
Stay Within Your Skill Level and Ski With Others
Understanding trail markings and your family’s abilities forms the foundation of safe skiing adventures. Green circles mark beginner slopes perfect for learning basic skills, while blue squares indicate intermediate terrain you’ll tackle after mastering greens. Black diamonds are reserved for advanced skiers who can handle higher speeds and obstacles.
Don’t exceed your limits—stick to terrain matching your current abilities to prevent accidents and injuries. Progress gradually from easier slopes to build confidence naturally.
Always ski with others, especially family members. Partners watch for hazards and provide mutual safety support. Arrange meeting spots at run bottoms in case you’re separated. When trying new terrain, use your first run as a warm-up to assess conditions. Take breaks when fatigued, and listen carefully to instructor guidance during lessons. Remember that beginner lessons provide the solid foundation needed to develop proper technique and safety habits from the start.
The Sum Up
You’re ready to hit the slopes safely and confidently! Remember, learning to ski as an adult takes patience, but these tips will set you up for success. Don’t rush the process—focus on building solid fundamentals and staying within your comfort zone. Your family ski vacation will be much more enjoyable when you’re prepared, properly equipped, and skiing responsibly. Take that first lesson, embrace the learning curve, and you’ll be carving turns in no time.